Unlock Remote IoT Access On Mac Behind Firewalls: A Guide
Ever felt trapped, trying to reach your smart devices locked behind a digital fortress? Gaining seamless remote access to your IoT devices from a Mac, even behind a firewall, is no longer a pipe dream but a tangible reality, independent of Windows!
In today's hyper-connected world, the ability to remotely manage and monitor your Internet of Things (IoT) devices is paramount. Whether you're a tech-savvy individual managing a smart home ecosystem or a business professional overseeing industrial sensors, the need for reliable and secure connectivity is undeniable. However, the presence of firewalls, designed to protect networks from unauthorized access, often presents a significant hurdle. This challenge is further amplified for Mac users, who may not have access to the traditional Windows-based solutions. This article peels back the layers of complexity, offering a comprehensive guide to establishing secure and efficient remote IoT connectivity on a Mac, even without resorting to Windows, and even circumventing the need for extensive software downloads.
| Category | Information |
|---|---|
| Concept | Remote IoT Connectivity Behind Firewalls on macOS |
| Challenge | Firewall Restrictions and macOS Specifics |
| Solution Overview | Secure and Efficient Methods without Windows |
| Target Audience | Tech Enthusiasts, IT Professionals, Business Users |
| Key Benefits | Enhanced Productivity, Remote Management, Increased Security |
| Core Techniques | Port Forwarding, VPN Configuration, Reverse SSH Tunneling |
| Security Considerations | Strong Passwords, Encryption, Regular Updates |
| Reference | Cloudflare - What is a Firewall? |
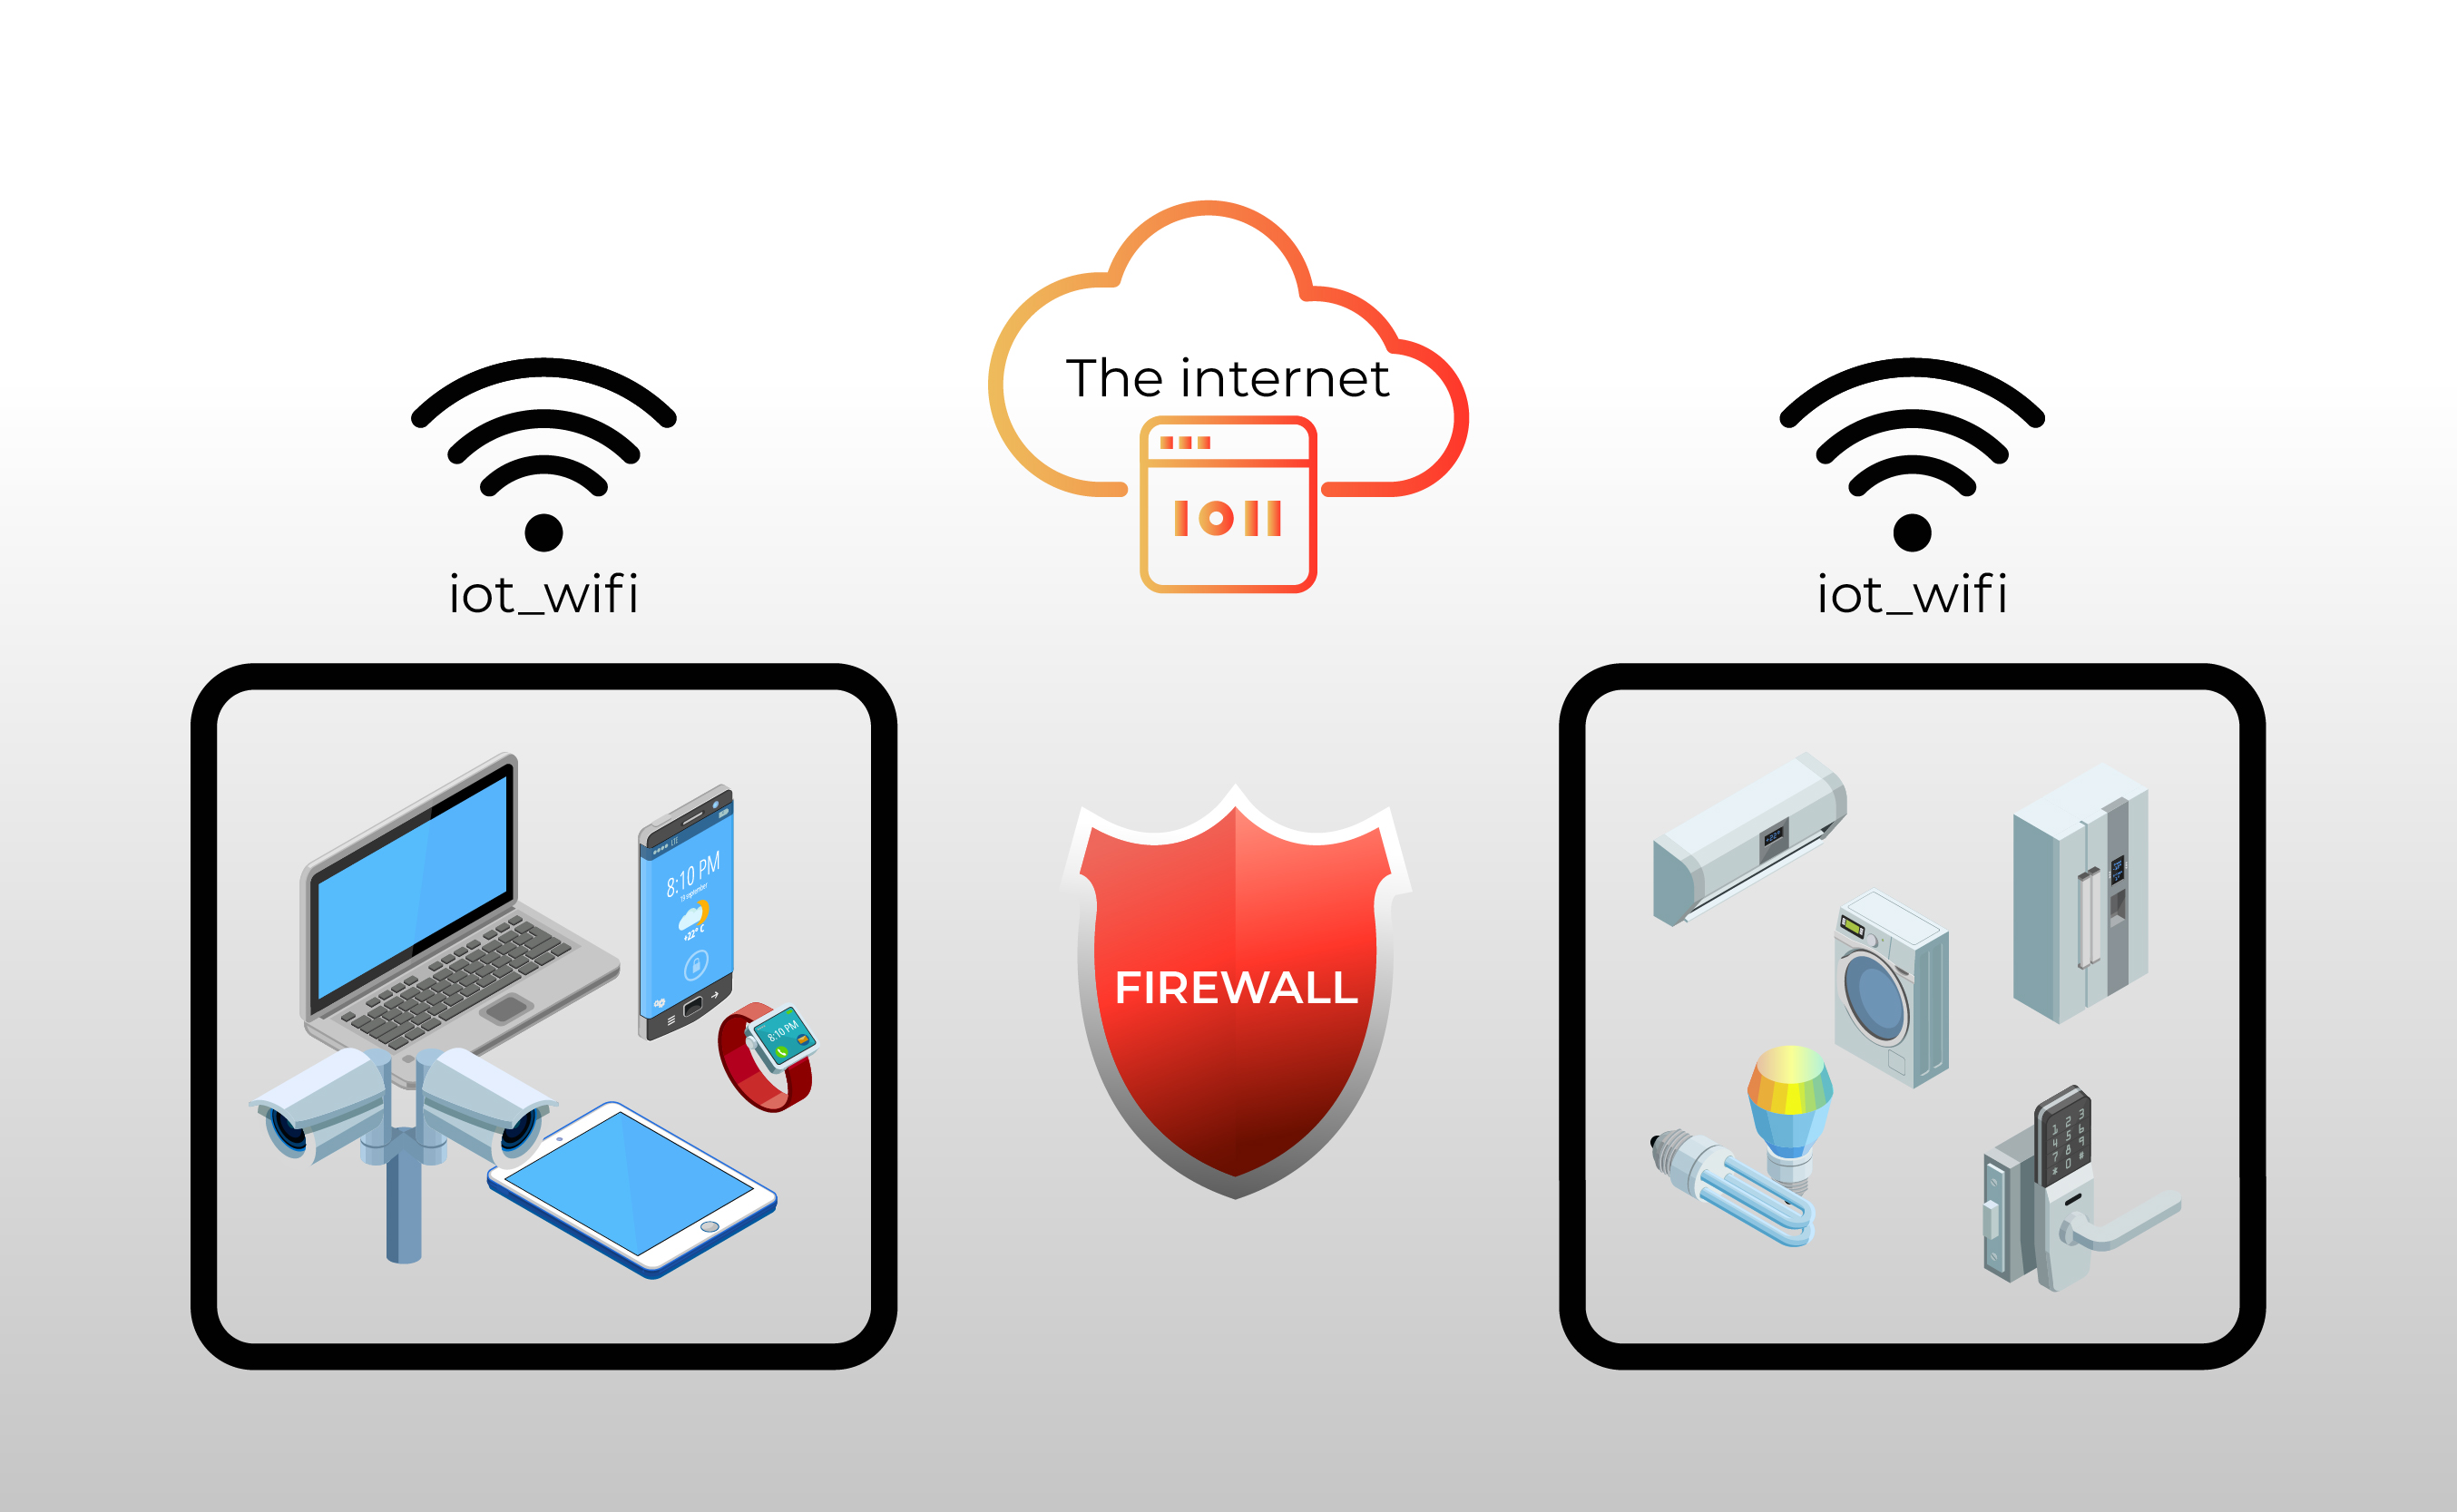
The core of the issue lies in understanding how firewalls function. At their most basic, firewalls act as gatekeepers, examining incoming and outgoing network traffic and blocking anything that doesn't meet pre-defined security rules. While this is essential for protecting your network from malicious actors, it can also inadvertently block legitimate access to your IoT devices. When these devices reside behind a firewall, directly accessing them from a remote Mac becomes a challenge. The standard approach often involves navigating complex network configurations and potentially compromising security. What, then, is the solution? The answer isn't a singular magic bullet, but rather a combination of techniques and tools that, when applied correctly, can unlock secure and reliable remote access.
- Janet Jacksons 2025 Comeback Behind The Scenes Halftime Show
- Unlock Success Fundraiser Tips Gofundme Guide Updated
Methods to Bridge the Gap: Several pathways exist to circumvent the firewall's restrictions and establish a connection to your IoT devices. Each method possesses its own set of advantages and disadvantages, making the selection process crucial and dependent on your specific needs and technical expertise.
1. Port Forwarding: The Traditional Route: Perhaps the most commonly cited method, port forwarding involves configuring your router to direct specific network traffic arriving on a particular port to the internal IP address of your IoT device. Imagine your router as a receptionist in a building. When someone calls for a specific department (your IoT device), the receptionist (router) forwards the call (network traffic) to the correct extension (IP address and port). This approach, while straightforward in principle, demands meticulous configuration. You'll need to access your router's administrative interface (usually via a web browser), identify the specific port used by your IoT device (often detailed in the device's documentation), and create a forwarding rule that maps the external port on your router to the internal IP address and port of the device. However, port forwarding presents potential security risks. By opening specific ports, you're essentially creating a direct pathway into your network, which, if exploited, could allow malicious actors to gain unauthorized access. It's crucial to use strong passwords and keep your router's firmware up to date to mitigate these risks. Furthermore, you should only forward the specific ports necessary for your IoT device to function, avoiding unnecessary exposure.
2. Virtual Private Network (VPN): The Secure Tunnel: A VPN creates a secure, encrypted connection between your Mac and your home or office network, effectively placing your Mac "inside" the network, as if it were physically connected. This allows you to bypass the firewall as if you were on the same local network as your IoT devices. Setting up a VPN typically involves installing VPN server software on a device within your network (such as a router with VPN capabilities or a dedicated server) and then configuring your Mac to connect to the VPN server. Once connected, all network traffic between your Mac and the VPN server is encrypted, providing a secure tunnel that shields your data from prying eyes. Using a VPN offers a significant security advantage over port forwarding. Instead of opening specific ports, the VPN creates a single, secure connection that protects all network traffic. This makes it much more difficult for malicious actors to intercept your data or gain unauthorized access to your network. However, setting up a VPN can be more complex than port forwarding, requiring a greater understanding of networking concepts. Also, VPN performance can sometimes be affected by network latency and server load.
- Cat Keenan Onlyfans Leaks What You Need To Know Hot Content
- Find Wasmo Somaliland Telegram Channel Updated
3. Reverse SSH Tunneling: The Secure Backdoor: For those comfortable with the command line, reverse SSH tunneling provides a powerful and secure way to access your IoT devices. SSH (Secure Shell) is a cryptographic network protocol that enables secure communication between two computers. With reverse SSH tunneling, you establish a secure connection from your IoT device to a server outside your network, then use that connection to tunnel back into your network and access the device. This approach avoids the need to open any ports on your router, as the connection is initiated from within your network. To implement reverse SSH tunneling, you'll need a server outside your network that you can connect to. This could be a cloud server, a virtual private server (VPS), or even another computer you own. You'll then need to configure your IoT device to establish an SSH connection to this server. Once the connection is established, you can use SSH port forwarding on your Mac to tunnel back through the server and access your IoT device. Reverse SSH tunneling offers a high level of security, as it avoids opening any ports on your router and encrypts all network traffic. However, it requires a solid understanding of SSH and command-line tools, making it a more advanced option.
4. Remote Access Software: The User-Friendly Approach: Tools like TeamViewer, AnyDesk, and Chrome Remote Desktop offer a user-friendly way to remotely access your IoT devices via a Mac. These applications often bypass firewall restrictions by establishing outbound connections, which are typically allowed by firewalls. These tools work by installing software on both your Mac and the device you want to access (or a computer on the same network as the IoT device). When you want to connect, the software establishes a connection through the vendor's servers, allowing you to remotely control the device. Remote access software offers a convenient way to connect to your IoT devices without having to deal with complex network configurations. However, it's important to choose reputable software and to be aware of the security implications. Always use strong passwords and enable two-factor authentication if available. Also, be mindful of the data that is being transmitted through the remote access software, as it may be subject to security vulnerabilities. While convenient, remember that you're relying on a third-party service, which introduces a level of trust that some may find undesirable.
5. Cloud-Based IoT Platforms: The Centralized Solution: Many IoT platforms, such as AWS IoT, Azure IoT Hub, and Google Cloud IoT, provide a centralized way to manage and monitor your IoT devices remotely. These platforms typically offer secure device registration, authentication, and communication protocols, allowing you to bypass firewall restrictions. With a cloud-based IoT platform, your devices connect directly to the cloud, and you access them through a web interface or mobile app. This eliminates the need to directly connect to the devices behind the firewall. Cloud-based IoT platforms offer a scalable and secure way to manage a large number of IoT devices. They also provide a range of features, such as data storage, analytics, and device management. However, they can be more expensive than other options, and they require a reliable internet connection. Additionally, you're entrusting your data to a third-party provider, which raises concerns about data privacy and security.
The Mac Factor: Unique Tools and Configurations: Working on a Mac provides several advantages when it comes to establishing secure remote IoT connectivity. macOS offers built-in tools like Screen Sharing and SSH, which can be leveraged to create secure connections. Furthermore, the macOS firewall, while designed to protect your Mac, can be configured to allow specific connections, providing a granular level of control. The macOS firewall is relatively simple to configure through System Preferences. You can create rules to allow or block incoming connections based on application or port. This allows you to fine-tune your firewall settings to allow access to specific IoT devices while blocking unauthorized access.
Addressing the No-Download Dilemma: While many solutions involve downloading software, it's also possible to achieve remote IoT connectivity on a Mac without relying on external applications. Using the built-in SSH client in Terminal, for example, you can establish secure tunnels to your IoT devices. Similarly, the macOS firewall can be configured to allow incoming connections to specific ports, enabling direct access to your devices. These methods require a greater understanding of networking concepts and command-line tools, but they offer a way to connect to your IoT devices without having to install additional software.
Security is Paramount: Regardless of the method you choose, security should always be a top priority. Use strong passwords for your IoT devices and your router. Enable two-factor authentication whenever possible. Keep your router's firmware and your IoT device's software up to date. Regularly monitor your network for suspicious activity. By taking these precautions, you can minimize the risk of security breaches and protect your data. Ensure that all communication between your Mac and your IoT devices is encrypted. This can be achieved by using VPNs, SSH tunnels, or secure communication protocols like HTTPS. Encryption protects your data from being intercepted and read by unauthorized parties.
Step-by-Step: Connecting IoT Devices Behind a Firewall on a Mac:
A. Using Port Forwarding:
- Identify the IoT device's IP address and port: Consult your device's documentation or network settings to determine its local IP address and the port it uses for communication.
- Access your router's administrative interface: Open a web browser and enter your router's IP address (usually 192.168.1.1 or 192.168.0.1). Log in with your router's username and password (often found on a sticker on the router).
- Navigate to the port forwarding section: Look for a section labeled "Port Forwarding," "NAT," or "Virtual Servers."
- Create a new port forwarding rule: Enter the external port (the port that your Mac will use to connect), the internal IP address of your IoT device, and the internal port. Select the appropriate protocol (TCP or UDP).
- Save the changes and restart your router: This will activate the port forwarding rule.
- Connect to the IoT device from your Mac: Use a program like Terminal or a dedicated IoT management app to connect to your IoT device using your router's public IP address and the external port you configured.
B. Using a VPN:
- Set up a VPN server: Install VPN server software on a device within your network (such as a router with VPN capabilities or a dedicated server). Configure the VPN server with a strong password and encryption settings.
- Install a VPN client on your Mac: Download and install a VPN client that is compatible with the VPN server software you are using.
- Configure the VPN client: Enter the VPN server's address, username, and password. Select the appropriate VPN protocol.
- Connect to the VPN: Activate the VPN connection on your Mac.
- Access the IoT device: Once connected to the VPN, you should be able to access your IoT device as if it were on the same local network.
C. Using Reverse SSH Tunneling:
- Set up an external server: Obtain access to a server outside your network that you can connect to via SSH.
- Configure the IoT device: Configure your IoT device to establish an SSH connection to the external server. This may involve installing an SSH client on the device and configuring it with the server's address, username, and password.
- Create a reverse SSH tunnel: On your Mac, use the `ssh` command to create a reverse SSH tunnel from the external server to your IoT device. For example: `ssh -R 2222:localhost:22 user@externalserver.com`. This will forward traffic from port 2222 on your Mac to port 22 on your IoT device (assuming your IoT device is running an SSH server on port 22).
- Connect to the IoT device: Use the `ssh` command to connect to the IoT device through the reverse SSH tunnel. For example: `ssh user@localhost -p 2222`.
D. Using Remote Access Software:
- Download and install the remote access software: Download and install the remote access software (e.g., TeamViewer, AnyDesk, Chrome Remote Desktop) on both your Mac and the device you want to access (or a computer on the same network as the IoT device).
- Configure the software: Follow the software's instructions to configure the connection. This typically involves creating an account and setting a password.
- Connect to the IoT device: Use the software to connect to the IoT device. You may need to enter a code or password to authenticate the connection.
E. Using Cloud-Based IoT Platforms:
- Choose an IoT platform: Select a cloud-based IoT platform that meets your needs (e.g., AWS IoT, Azure IoT Hub, Google Cloud IoT).
- Register your IoT device: Follow the platform's instructions to register your IoT device with the platform. This typically involves providing some information about the device and downloading a certificate or key.
- Configure the IoT device: Configure your IoT device to connect to the platform using the certificate or key.
- Access the IoT device: Use the platform's web interface or mobile app to access and manage your IoT device.
The Ever-Evolving Landscape: The world of IoT connectivity is constantly evolving, with new tools and techniques emerging all the time. Staying informed about the latest developments is crucial for maintaining secure and efficient remote access to your IoT devices. Explore online forums, read industry publications, and attend conferences to stay up-to-date on the latest trends and best practices.
Remoteiot: A Case Study: Remoteiot, like many similar tools, can sometimes present challenges when operating behind a firewall. Its functionality, designed to streamline remote access, can be hampered by the very security measures intended to protect your network. However, understanding the intricacies of Remoteiot and its interaction with firewalls is the first step towards a smooth and efficient experience. Many of the techniques described above, such as port forwarding, VPNs, and reverse SSH tunneling, can be applied to improve Remoteiot's performance behind a firewall. Consult Remoteiot's documentation for specific instructions on how to configure the tool for optimal performance in a firewalled environment.
Ultimately, achieving reliable and secure remote connecting iot devices behind a firewall on a mac requires a combination of technical understanding, careful planning, and diligent execution. By understanding the challenges, exploring the available methods, and prioritizing security, you can unlock the full potential of your IoT devices and manage them effectively from anywhere in the world. Embrace the challenge, and you'll find that connecting to your IoT devices behind a firewall on a Mac is not an insurmountable obstacle, but a manageable and rewarding endeavor.
- Janet Jacksons 2025 Comeback Behind The Scenes Halftime Show
- Ssh For Iot Secure Remote Access A Complete Guide
How To Remotely Connect IoT Devices Behind A Firewall On Mac Without

Mastering Remote IoT Access Behind Firewalls Using Mac A Comprehensive

How To Securely Access IoT Devices Behind Firewalls A Guide To Remote
